Designing a Small Tissue Culture Lab at Home: A Grower’s Guide
Share
Plant tissue culture isn’t just for big laboratories anymore. With the right planning and equipment, dedicated hobbyists and small-scale growers can design their own compact labs at home. This opens the door to propagating rare tropical plants, preserving genetics, and experimenting with new hybrids. As someone who has built both commercial labs and scaled-down setups, I want to share the essentials you need to get started.
🌱 Why Build a Home Tissue Culture Lab?
Multiply Rare Plants: Propagate valuable or hard-to-find species more quickly than traditional cuttings.
Preserve Genetics: Store clean, disease-free cultures of plants you don’t want to lose.
Experiment: Learn the science behind media recipes, plant hormones, and acclimation techniques.
Cost Savings: While the initial investment can feel high, producing your own cultures reduces dependence on imports and pricey suppliers.
🏗️ The Basic Layout
A home tissue culture lab doesn’t need to be huge, but it should be organized into functional zones:
1. Preparation Area – For mixing media and sterilizing equipment.
2. Sterile Work Area – Where you transfer plant material and culture it under sterile conditions.
3. Growth/Incubation Area – For storing jars or vessels under controlled light and temperature.
4. Acclimation Area – To gradually transition plants from sterile jars to soil or hydroponics.
Even a small spare room, basement corner, or insulated garage space can be adapted with the right planning.
🔬 Essential Equipment
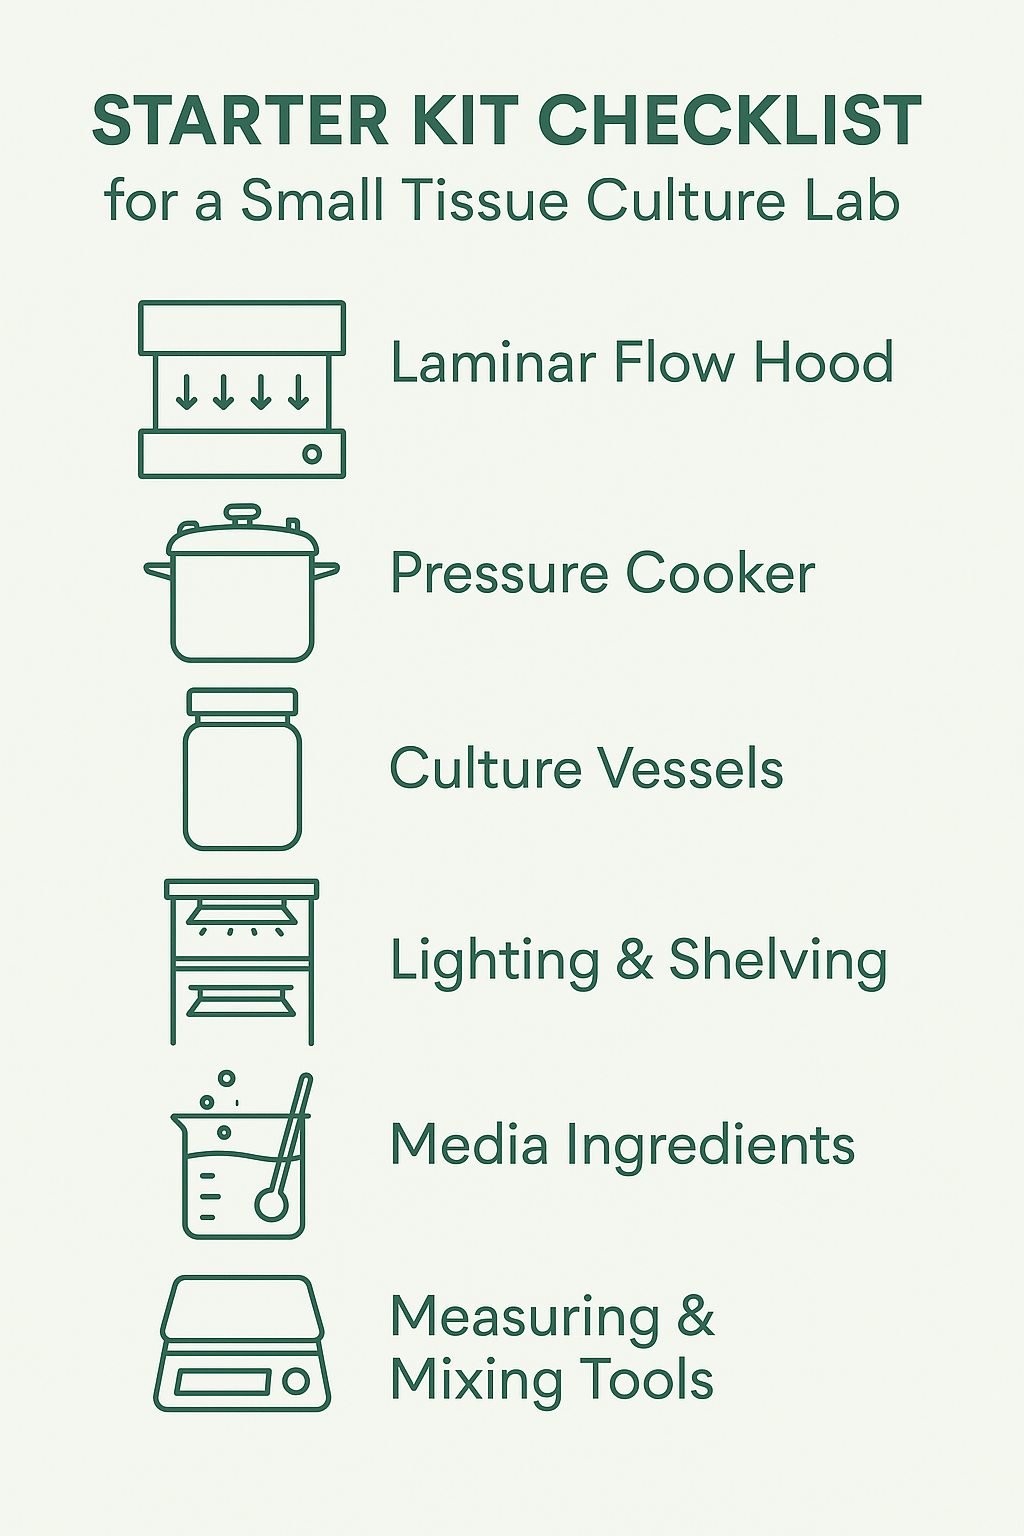
1. Laminar Flow Hood
Provides sterile airflow for safe transfers.
DIY versions can be made using HEPA filters, PVC frames, and fans, but professional units offer more reliability.
For beginners, even a small “still air box” can work until you upgrade.
2. Autoclave or Pressure Cooker
Used to sterilize media, jars, and tools.
A pressure cooker (15 psi) is often sufficient for a home setup.
3. Culture Vessels
Mason jars, baby food jars, or specialized culture containers.
Transparent with tight-fitting lids that allow some gas exchange.
4. Lighting & Shelving
LED grow lights provide consistent conditions.
Shelving units maximize vertical space for incubation.
5. Measuring & Mixing Tools
Digital scale (accurate to at least 0.01 g).
pH meter or test strips.
Magnetic stirrer or hot plate for mixing media.
6. Media Ingredients
Basal salts (e.g., MS or SH medium).
Plant hormones (auxins, cytokinins).
Sucrose as an energy source.
Gelling agents (agar or gellan gum).
🧼 Sterility Is Everything
The biggest challenge in home labs is contamination. Bacteria and fungi thrive in sugar-rich plant media. To keep your cultures clean:
Always sterilize tools and jars before use.
Work in your sterile area with gloves and alcohol spray.
Limit air movement when transferring cultures.
💡 Tips for Small Spaces
Start Simple: Begin with a few jars and one species before scaling up.
Upgrade in Stages: A still air box can evolve into a laminar flow hood later.
Use Vertical Space: Multi-tier shelving can hold hundreds of jars in even a closet-sized setup.
Track Everything: Label jars with media type, date, and plant ID. Keeping records will save you from guesswork later.
🌍 From Home Hobby to Small Business
Many successful plant businesses start with a small home lab. Once you refine your technique, you can scale to produce enough cultures for trade, sales, or even supply local nurseries. Tissue culture is one of the most powerful ways to bring rare tropicals to a wider audience while protecting wild populations from over-harvesting.
Final Thoughts
Building a small tissue culture lab at home is both rewarding and empowering. With a few pieces of essential equipment and a sterile mindset, you can propagate your own rare plants and gain skills usually reserved for commercial labs.